

Introduction
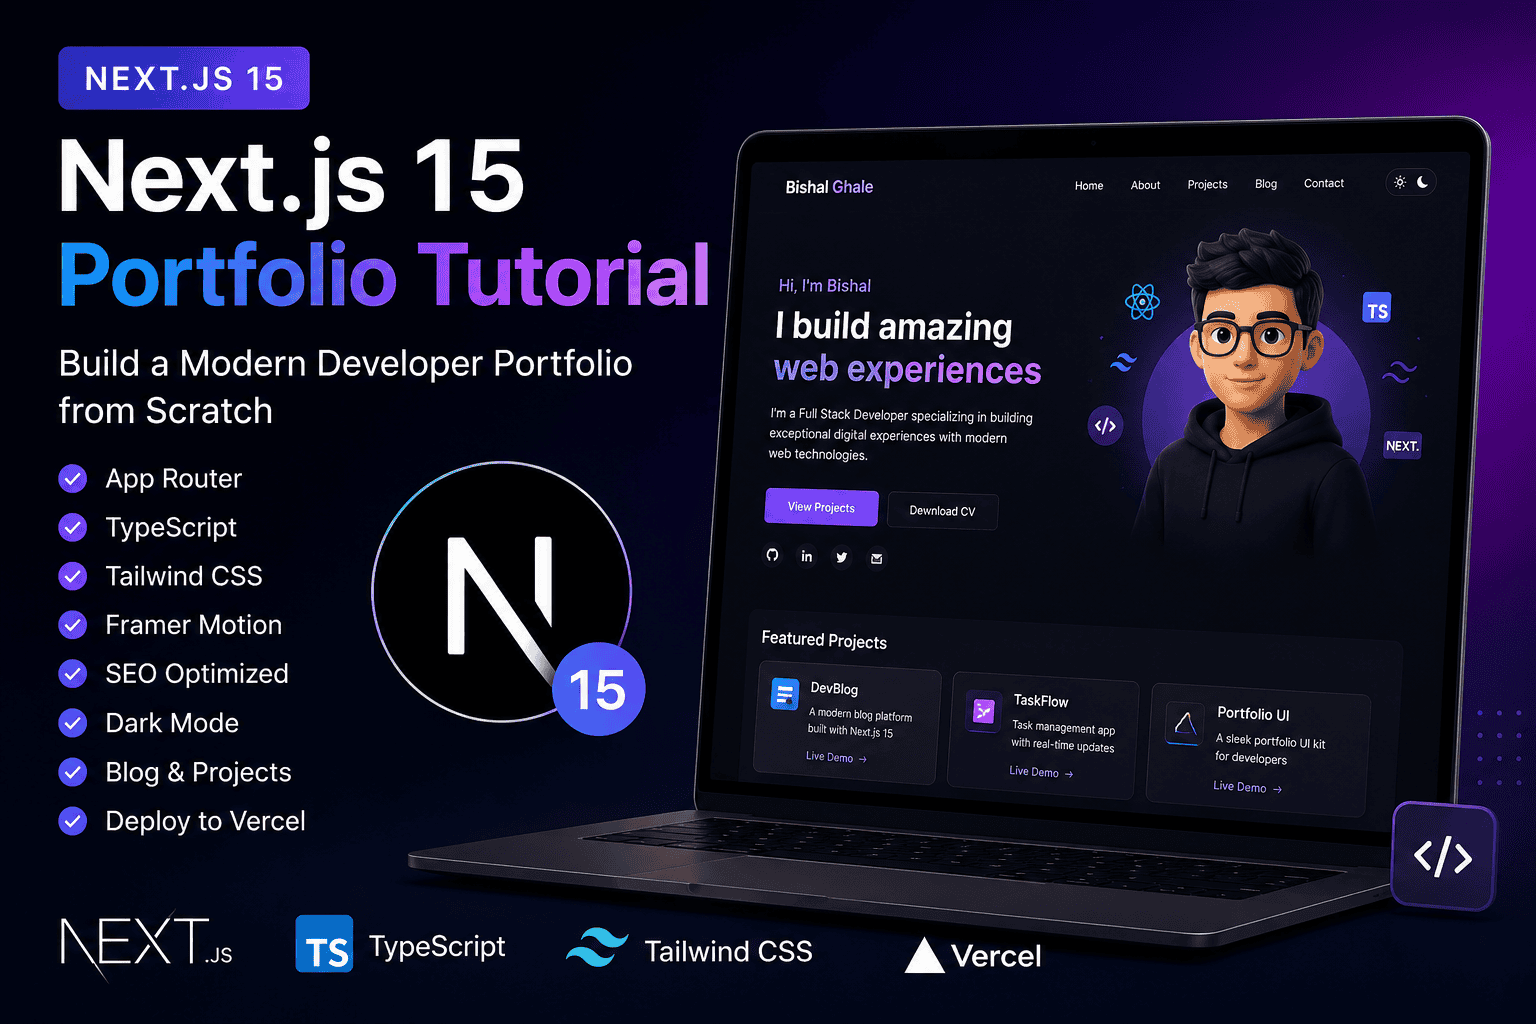
Full-stack blog app projects are a great way to showcase your skills in both frontend and backend development. In this post, you’ll learn how to build a full-stack blog using Next.js for the frontend and Node.js with Express for the backend. We’ll cover routing, REST APIs, markdown rendering, and how to deploy your app online.

Why Build a Full-Stack Blog?
- ✅ Learn API integration using Node.js
- ✅ Understand file-based routing with Next.js
- ✅ Practice CRUD operations (Create, Read, Update, Delete)
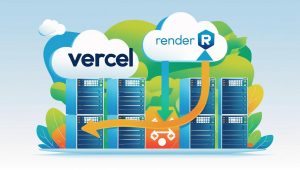
- ✅ Deploy your project on platforms like Vercel and Render
This project is beginner-friendly and helps you stand out in your portfolio or job applications.
🧱 Tech Stack
- Frontend: Next.js, Tailwind CSS
- Backend: Node.js with Express
- Database: MongoDB (Mongoose)
- Extras: Markdown for blog content
🚧 Project Features
- User Authentication (JWT-based)
- Create, Edit, Delete blog posts
- View all public blog posts
- Admin dashboard for post management
- Markdown content rendering
🗂 Suggested Folder Structure
/client (Next.js frontend)
  └── pages
  └── components
/server (Node.js backend)
  └── controllers
  └── models
  └── routes
  └── middleware
🚀 Deployment Tips
- Frontend: Deploy on Vercel
- Backend: Use Render or Railway
- Use
.envfiles to manage environment variables securely
🎯 What You’ll Learn
- Next.js file-based routing and dynamic pages
- Connecting frontend to backend using fetch/axios
- Storing and retrieving posts from MongoDB
- How to use Markdown to render blog content
- How to protect routes and secure APIs
Conclusion
This full-stack blog project using Next.js and Node.js is a perfect way to learn real-world concepts while creating something useful. It will boost your resume, teach you the essentials of CRUD, API integration, and deployment—and best of all, you’ll have a beautiful, working blog to show off!
Next step: Follow our upcoming guide where we build this app step-by-step with GitHub boilerplate.






Sed sed id laboris